Multi-node operation🔗
- Active - Active High Availability cluster🔗
Active - Active architecture is a design that provides high availability of services by using multiple nodes, every one of them providing the same set of services. Every node is capable of servicing every request directed at them. All nodes can be concurrently used. It allows load-balancing of requsts between the nodes (provided that network devices support such configuration).
- Active - Passive High Availability cluster🔗
Active - Passive architecture is a design, where high availability of services is attained by using failorver or standby mechanism. One node (active or primary) handles the requests and the other node (passive or standby) remains on standby to take over tasks in case of failure of the primary node.
- Virtual Router Redundancy Protocol🔗
Protocol that allows for redundancy and automatic fallback of virtual IP address that is used as a common gateway address in the network (in our case, the NV address). With this protocol, the availability of servers, routers or gateways in the network can be increased by providing a failover mechanism. For VRRP to work, IP addresses of nodes have to be in the same L2 segment (VLAN). As of NACVIEW v3.0.2, VRRP can only be deployed between any two nodes.
NACVIEW by design supports Active - Active HA - every node of NACVIEW runs all of the services by default and is able to process any RADIUS/TACACS+ requests send its way. Active - Passive HA can be achieved twofold: by usingn network devices’ native capabilities (by defining primary and secondary RADIUS server - availability may wary) or with VRRP. Dedicated VRRP configuration guide is available here
Adding a new node🔗
Tip
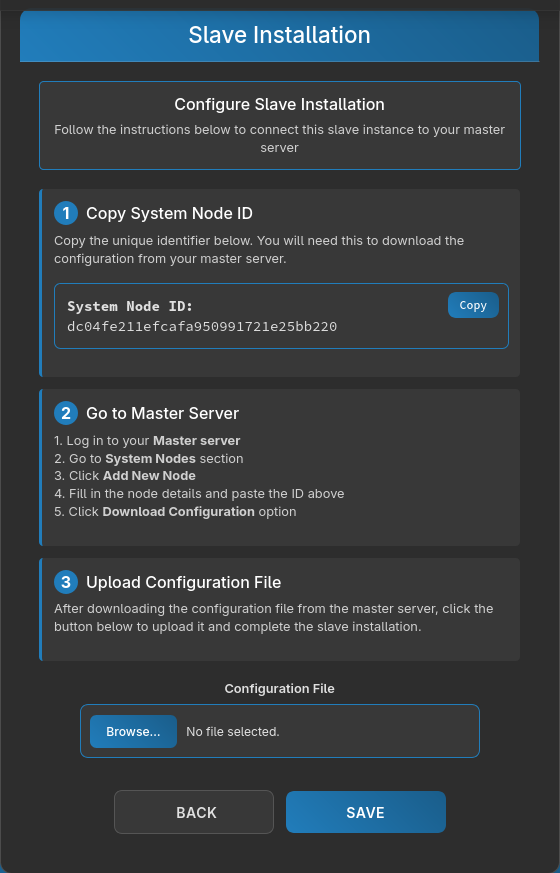
Concise instructions are also provided on new node’s OOB management interface. They’re available after choosing Slave/Secondary installation.
Reserve IP address for a new NACVIEW node. The new node does not have to be in the same subnet as the other nodes, unless VRRP operation is required.
Log in to the new node via the CLI console and configure appriopriate network settings as per Network settings.
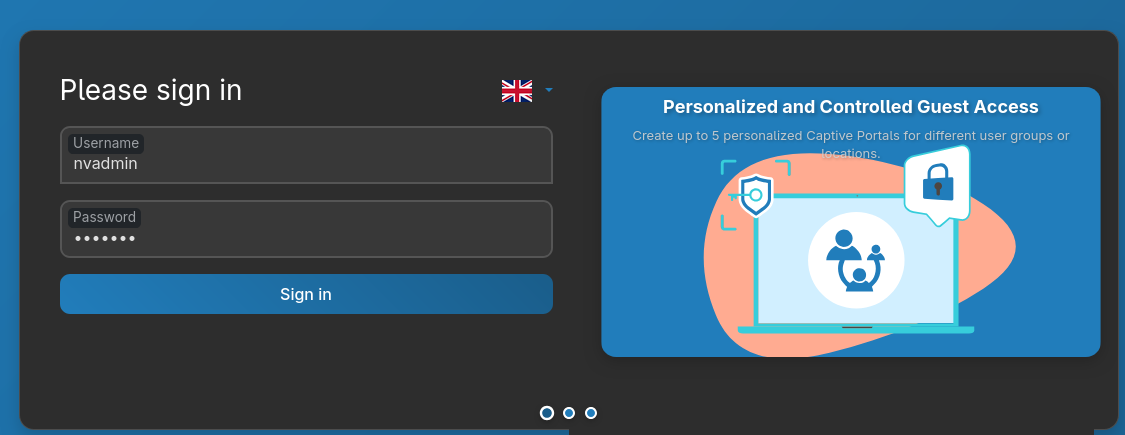
Open new node’s address on port 5443 (HTTPS). Login with the default credentials.
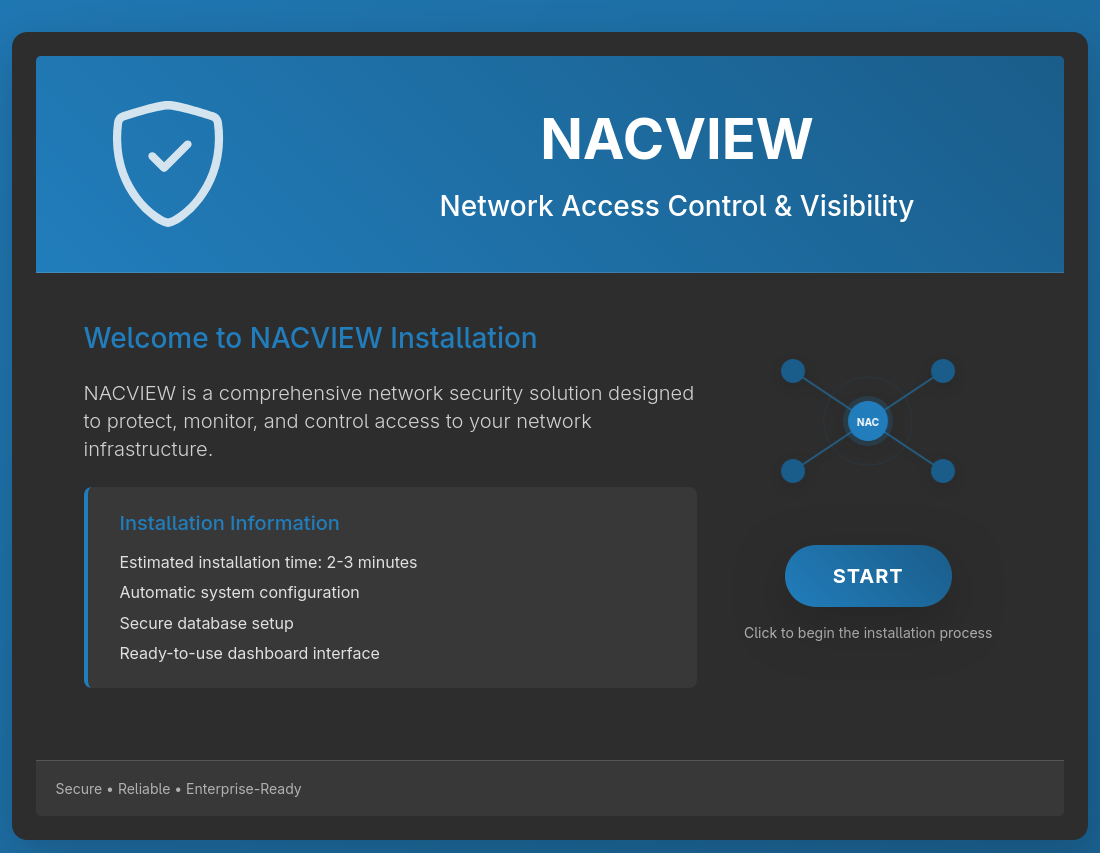
Select Start button.
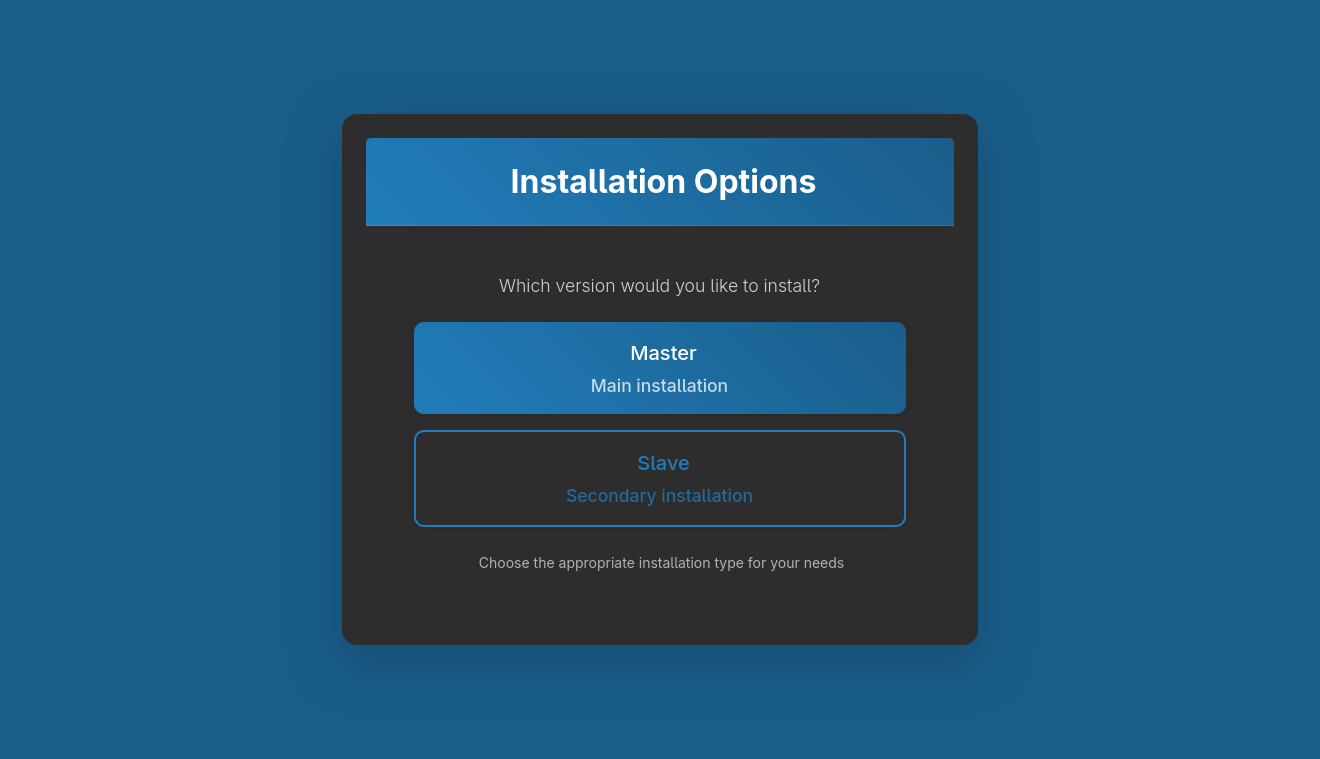
Next, select Slave/Secondary installation.
Save the node’s key that will be shown on the screen.
Open System configuration and go to the System nodes.
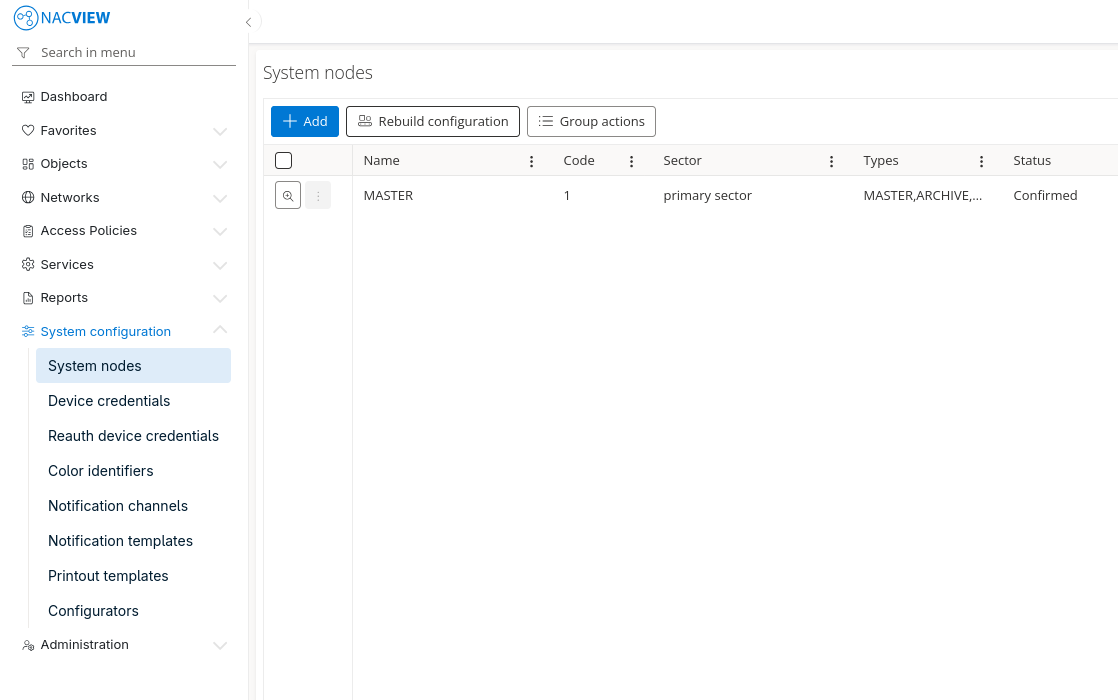
Click on Add button to open a node creation panel.
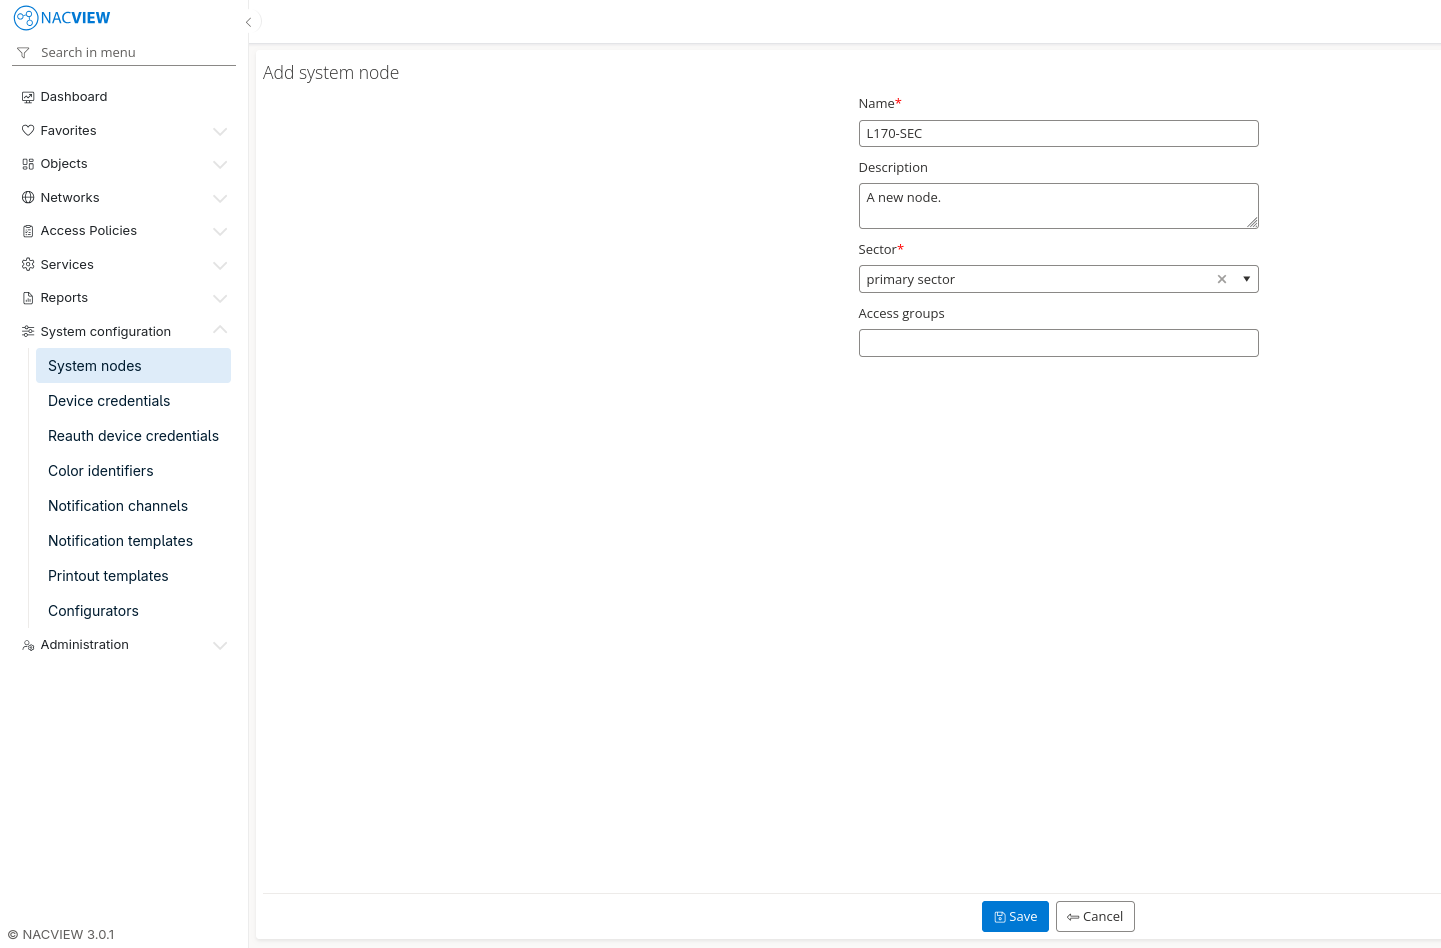
Assign name (a node’s hostname) to the node, optionally select sector and access groups.
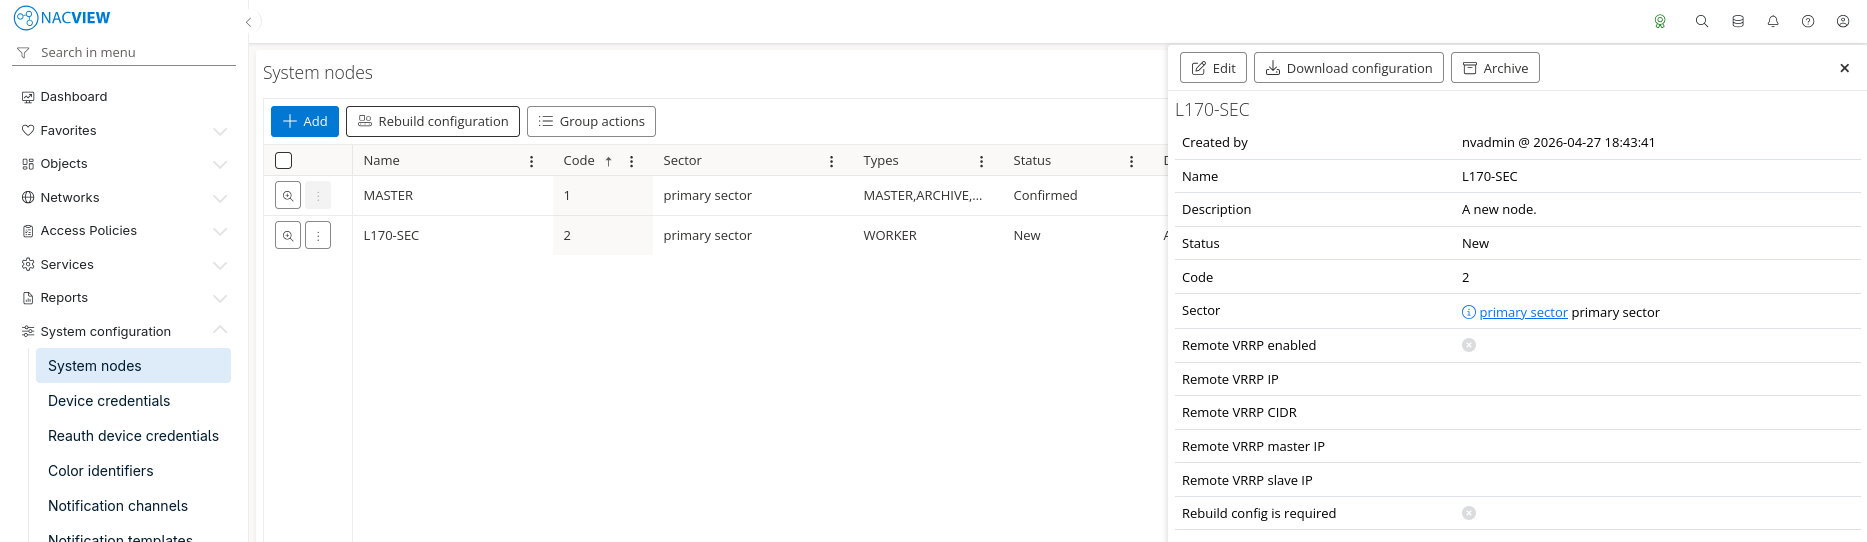
Confirm with Save button.
From the System nodes pane, open the details view of the new node and select Download configuration. Copy node’s IPsec encryption key into the field and confirm. Download should start momentarily.
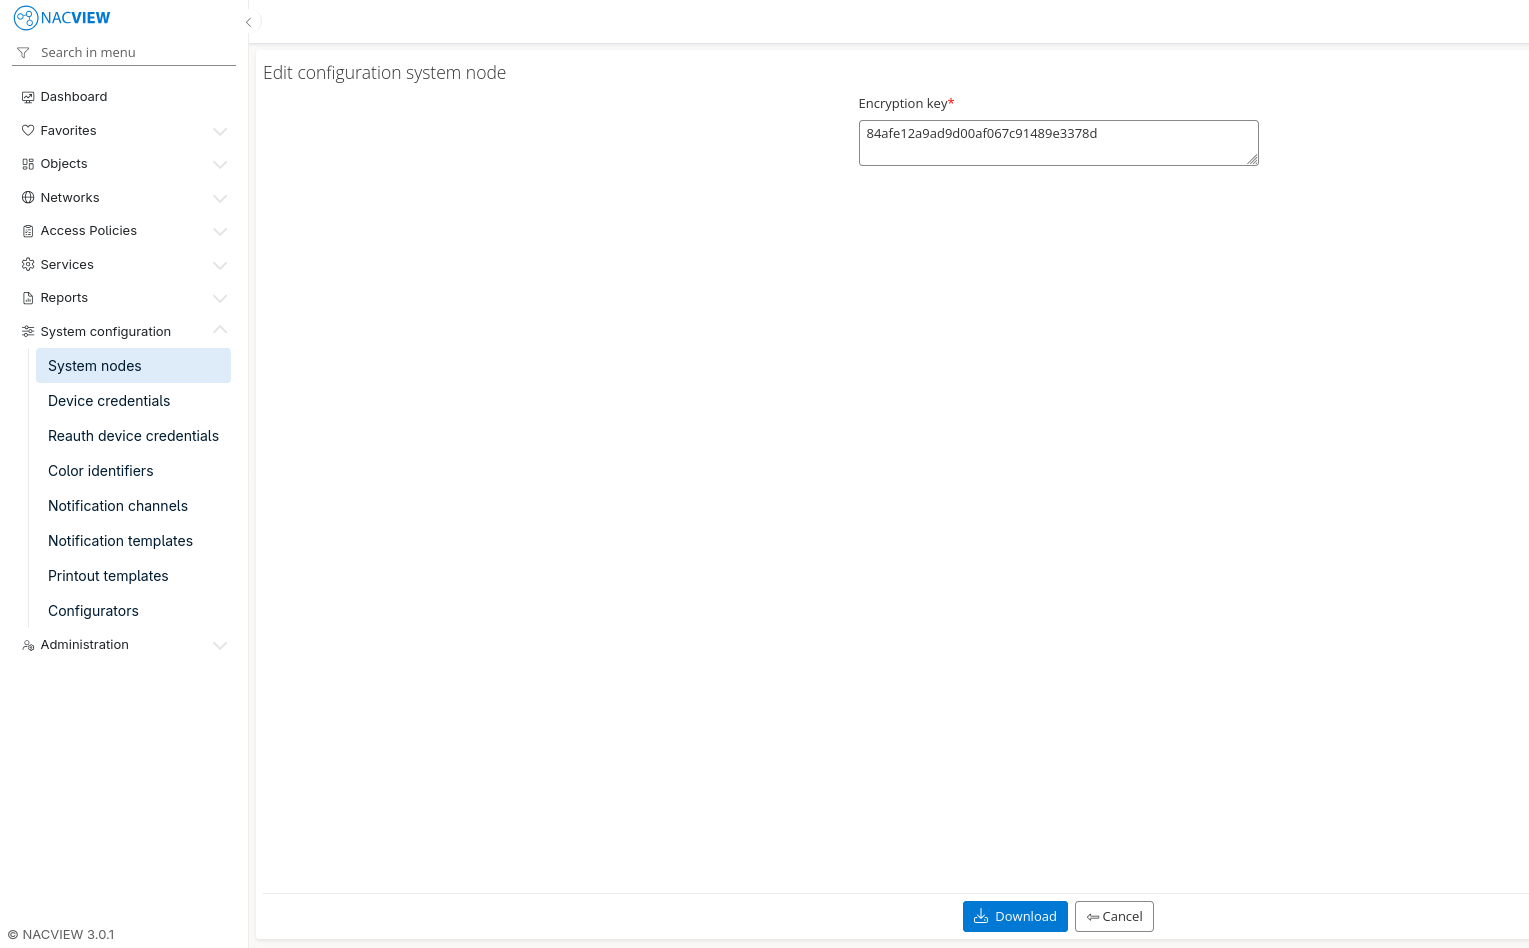
After downloading the file, proceed to the management panel of the new node and upload the configuration file there.
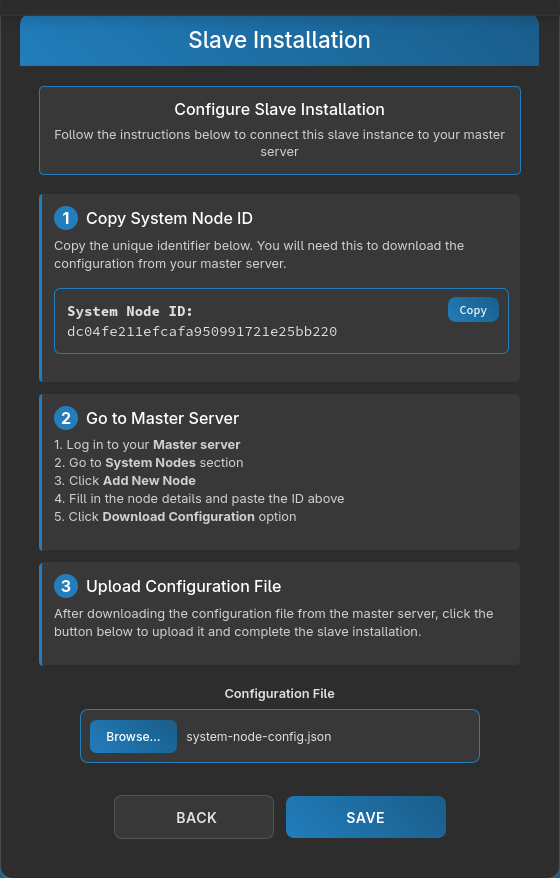
Confirm with
Savebutton and wait for the wizard to finish.
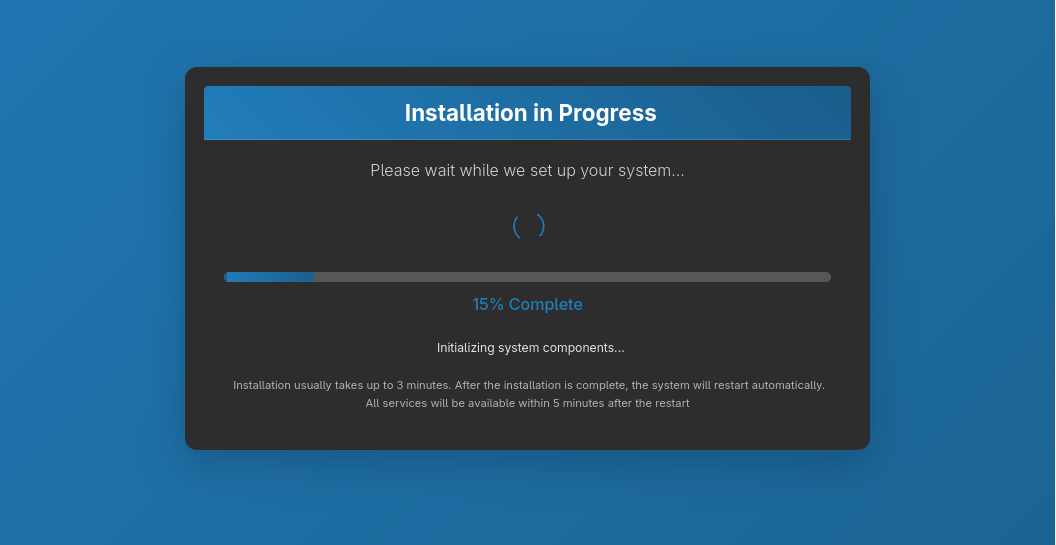
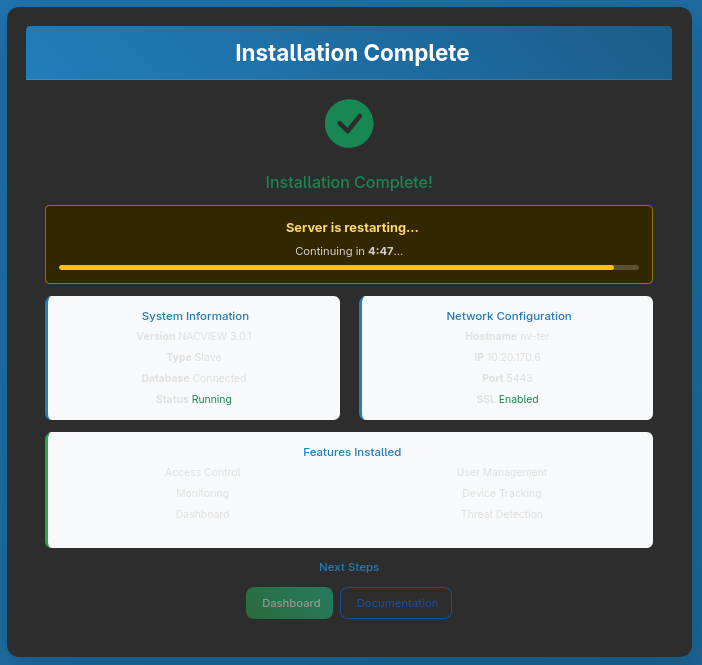
Afterward, the overview page will be shown and the new node will be restarted.