Add🔗
Use this method to create a single Identity directly in the NACVIEW system database.
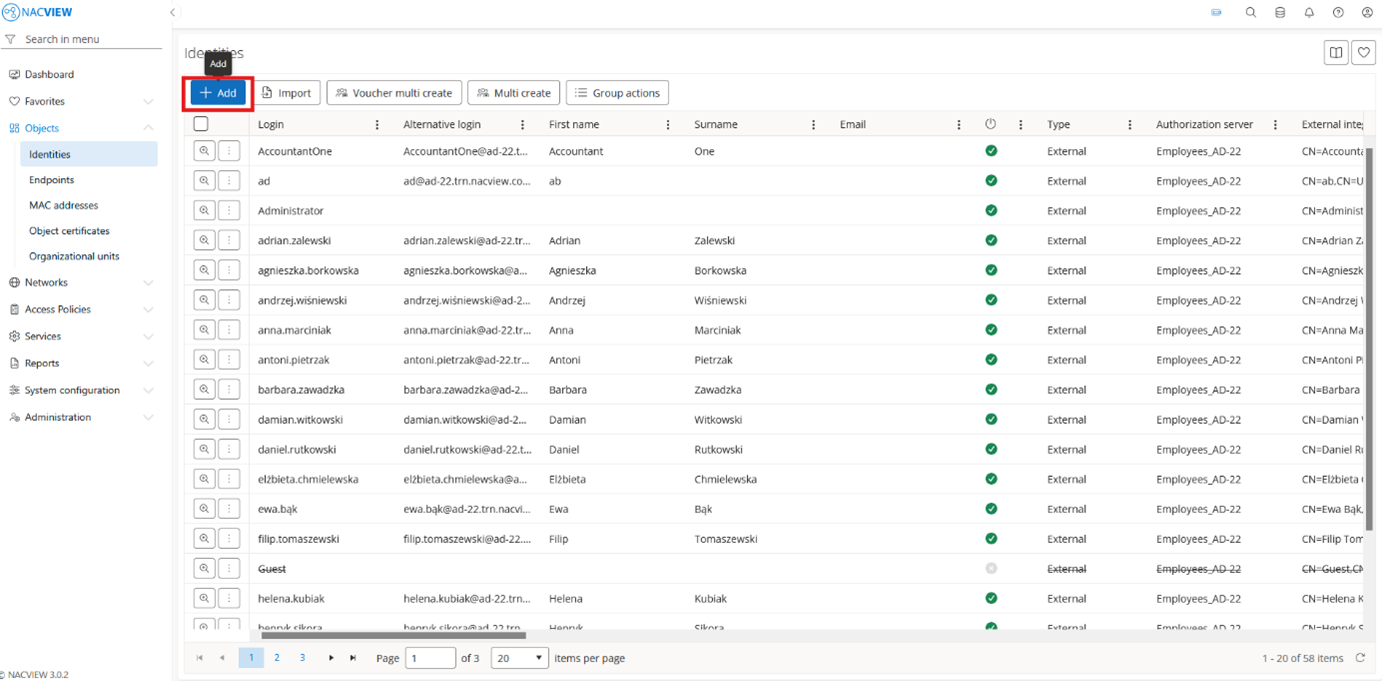
Open Objects and go to the Identities.
Select the
Addbutton
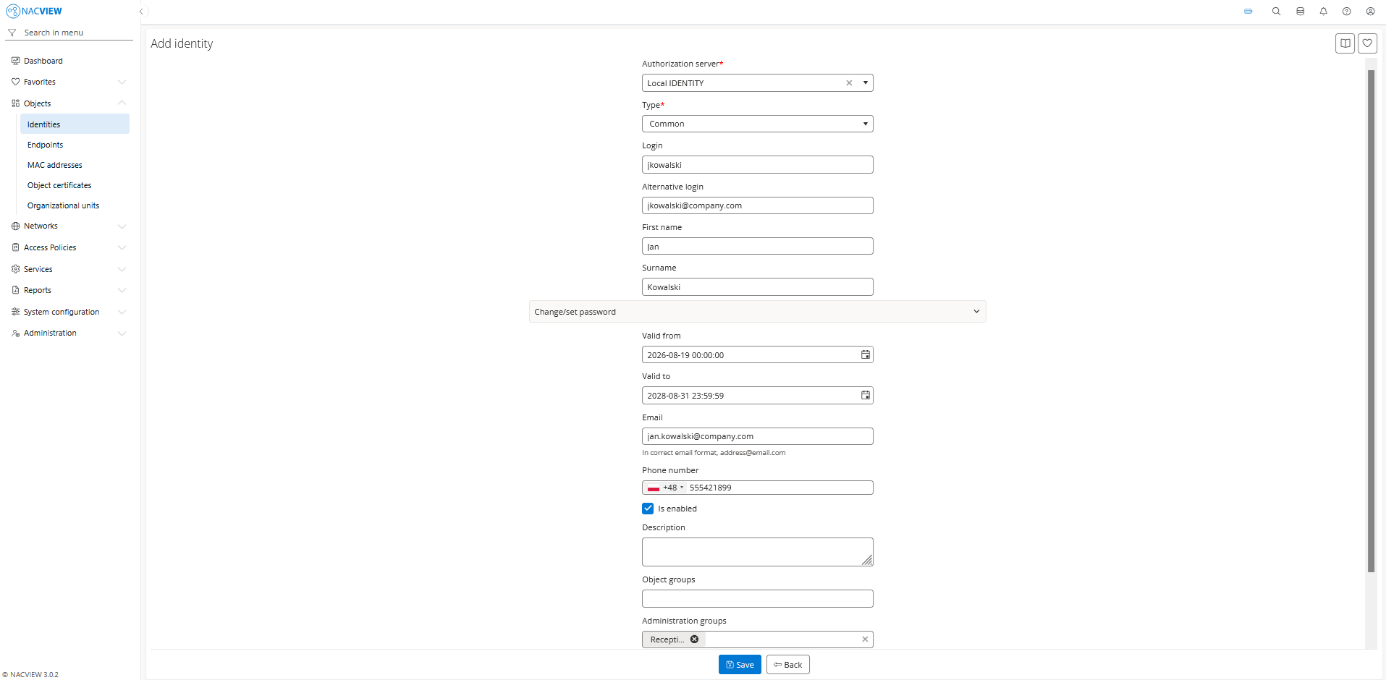
Fill the identity fields.
Note
If the login field is left empty, the system generates it automatically. The scheme used for automatic login generation can be set in System configuration › Configurators › Identities configuration. The login and alternative login must be unique within the database.
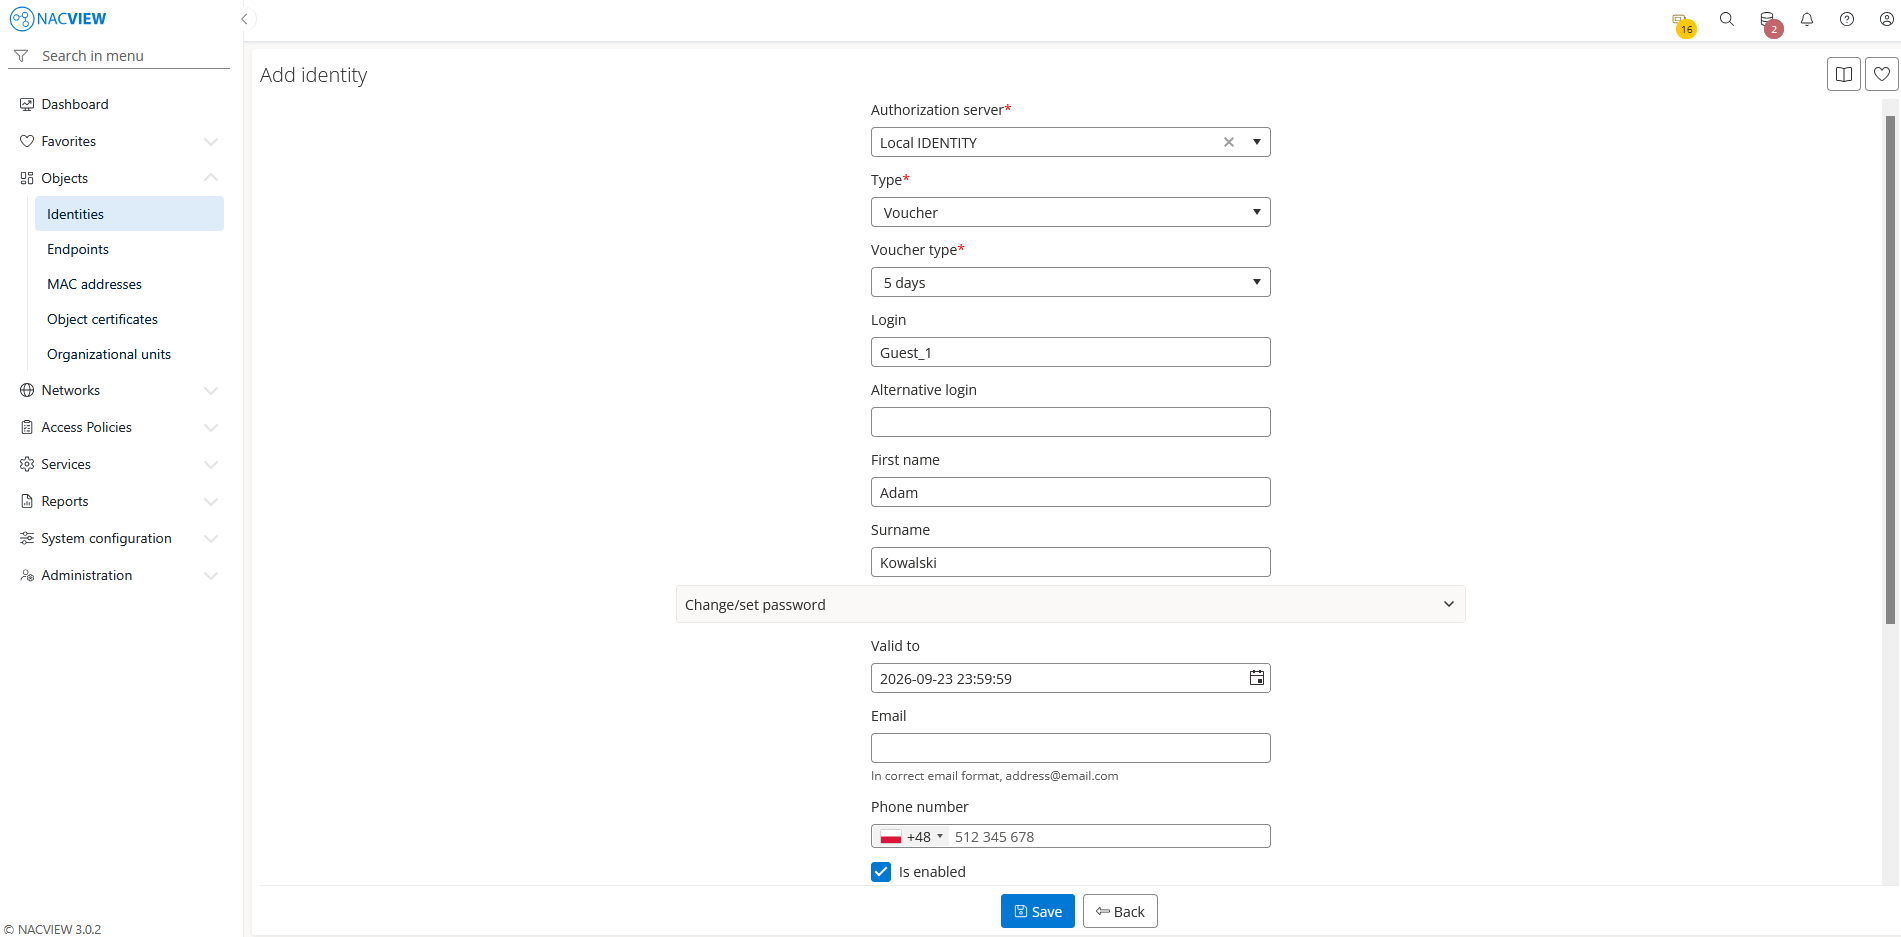
For Voucher accounts, you set the account’s validity duration using the Voucher type field.
Note
If both a Voucher type and a Valid to date are set, the earlier of the two applies.
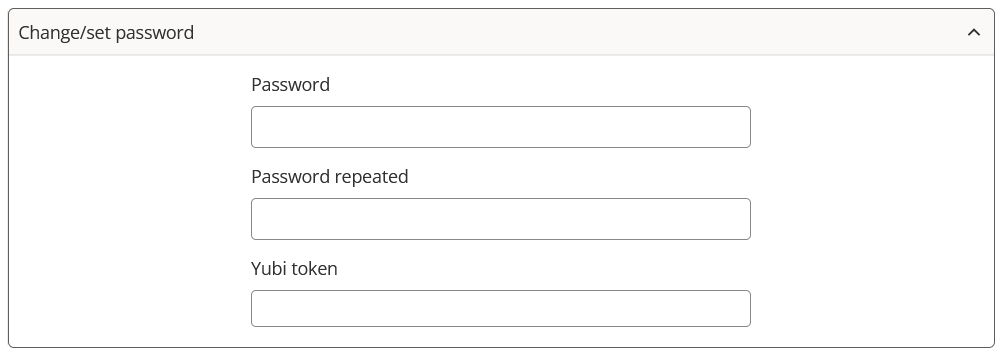
In the Change/set password section, set the password used to authenticate the identity. This password can be used to log in to resources that require authentication, such as the corporate network, the Captive Portal, or a VPN.
Note
If the password field is left empty, the system automatically generates a password when the account is created.
Field |
Description |
|---|---|
Password / Password repeated |
The password assigned to the identity. It must be at least 8 characters long and contain both letters and digits. Re-enter it in the Password repeated field to confirm. |
Yubi token |
An additional multi-factor authentication (MFA) method. The assigned YubiKey can be used wherever an MFA option is available, for example in the Captive Portal. |
Note
The Yubi token field is not available when creating a new identity. To set it, first save the new identity, then open it again for editing. The Yubi token field will then be available.
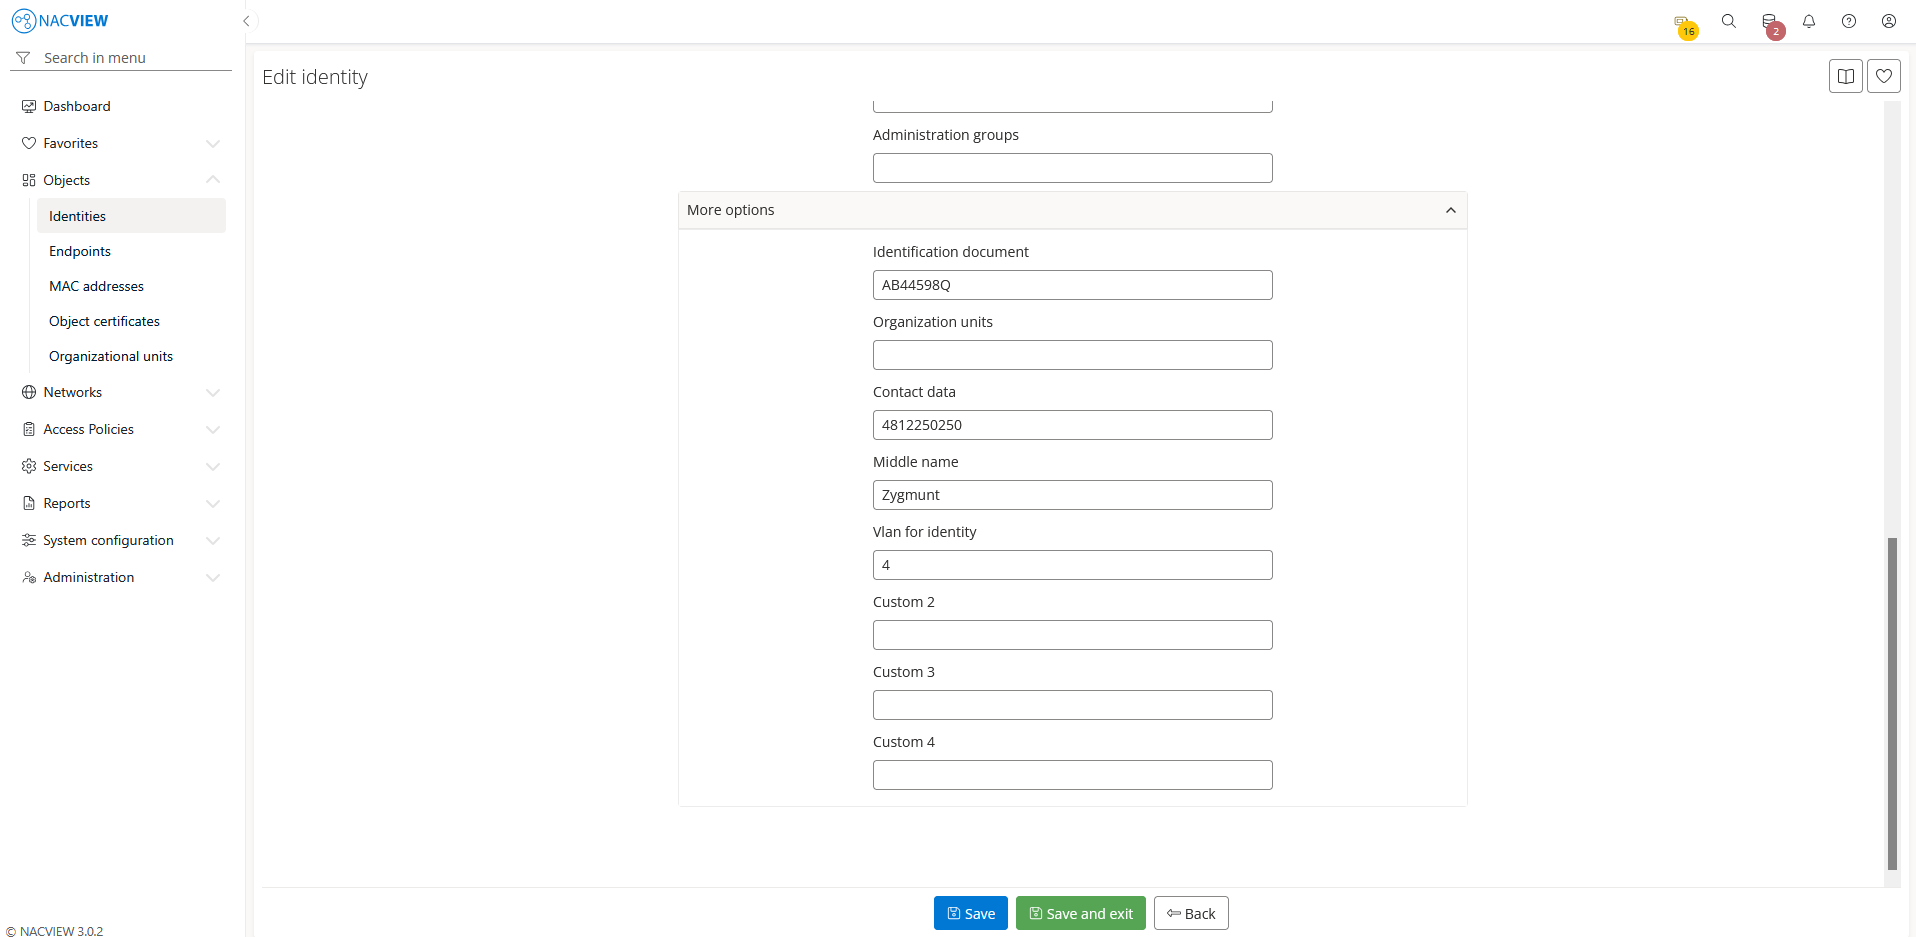
To add more identity details, expand More options.
Note
To create custom fields, go to System configuration › Configurators › General system configuration
A custom field can be given its own label and used to return a value during policy enforcement. Custom fields are available for Common, Voucher, and External identities. When synchronising with a domain, a domain attribute can be mapped to a custom field, so that its value is imported automatically and can then be used in policies - for example, to assign a VLAN.
4. Select the Save button to create the identity.
The new identity appears on the Identities list.
Note
To discard your changes without creating the identity, select Back button.